How to iron Perler beads: a step-by-step guide that works the first time
Placing the beads, ironing without melting everything, peeling off cleanly: the 5 steps to get every pattern right, plus common mistakes.
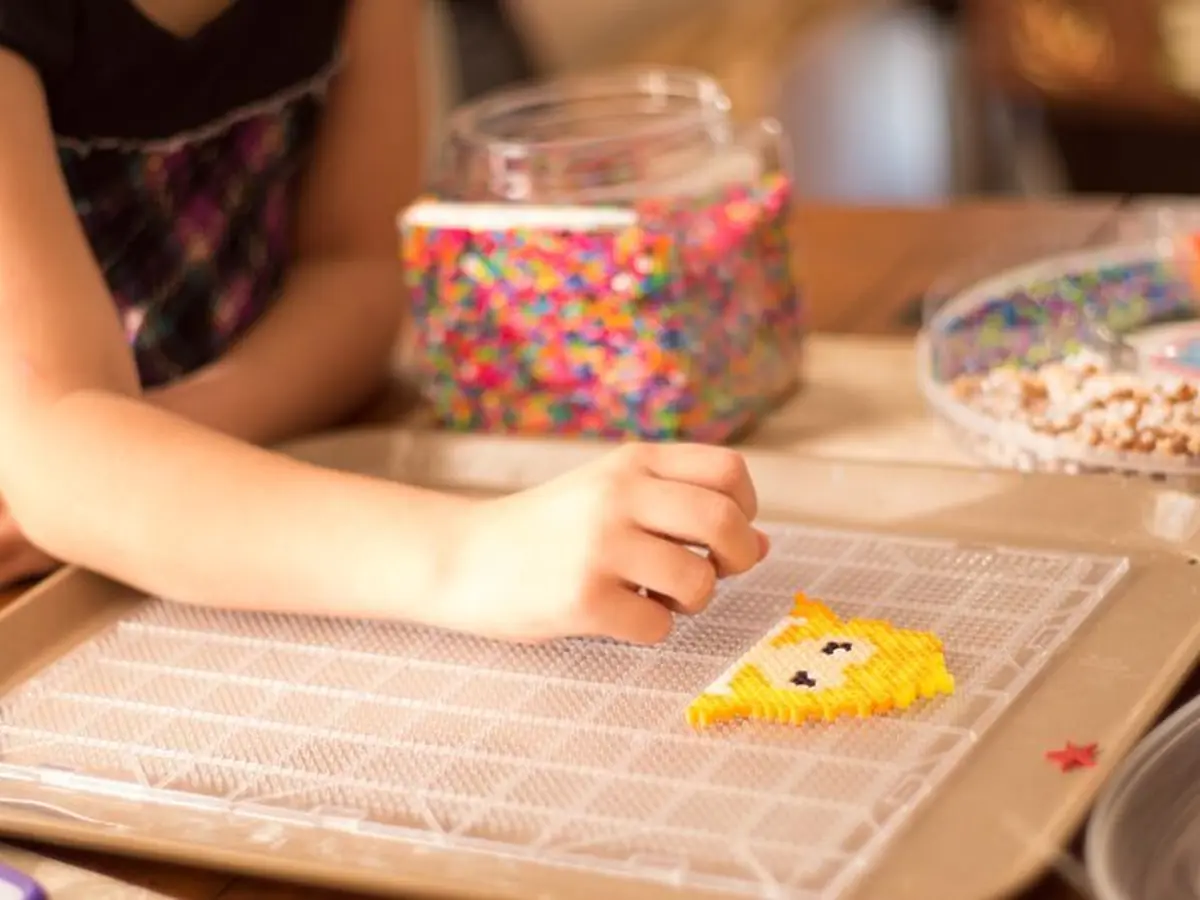
1. Supplies
- Midi beads (5 mm): Perler, Hama or Artkal all fit the same pegboards.
- A clear pegboard, so you can slide the printed pattern underneath.
- Parchment paper or the ironing paper that comes with the kits.
- An iron, steam off.
2. Print the pattern at the right size
In the print dialog, choose "Actual size" or "100%", never "Fit to page". The check square must measure exactly 5 cm. Cut along the dotted lines: the sheet is the size of the pegboard and slides underneath without sticking out.
3. Place the beads
Start with the outline, then fill in color by color. Sorting the beads into a compartment box first saves a lot of time.
4. Iron
- Iron on medium (cotton), steam off.
- Lay the paper flat over the whole pegboard.
- Small circles for 10 to 15 seconds, without pressing.
- Lift a corner: the beads should be fused with the holes still visible.
An adult does the ironing.
5. Peel and cool
Let it cool slightly, peel it off, flip it and iron the back for a few seconds. Put a book on top while it cools so it stays flat.
Common mistakes
| Problem | Fix |
|---|---|
| Beads don't stick together | Iron 5 more seconds in small circles |
| The holes have disappeared | Lower heat, shorter time |
| The piece curls up | Cool it under a book |
| The pattern is bigger than the pegboard | Print at actual size (100%) |
FAQ
Can you melt Perler beads in the oven?
It's not recommended: the heat is uneven and pegboards can't take the oven.
What age can kids start?
From age 3 with biggie beads, with an adult doing the ironing.